Creating floating shelves is a great way to add stylish storage solutions to any space. They're functional, minimalist, and can be customized to suit various interior styles. Here's a guide to help you design and install your own floating shelves.

Floating shelves come in various styles to suit different decor needs:
Floating shelves can be made from various materials, each offering unique benefits:
Pick a spot on the wall where you want the floating shelves. Common places include above desks, beds, or in kitchens and bathrooms for extra storage.
Measure the length and width of the space where you want to install the shelves. Use a stud finder to locate wall studs, marking their positions on the wall.
Cut the wood to the desired length for each shelf. Sand the edges and surfaces of the wood to ensure smoothness.
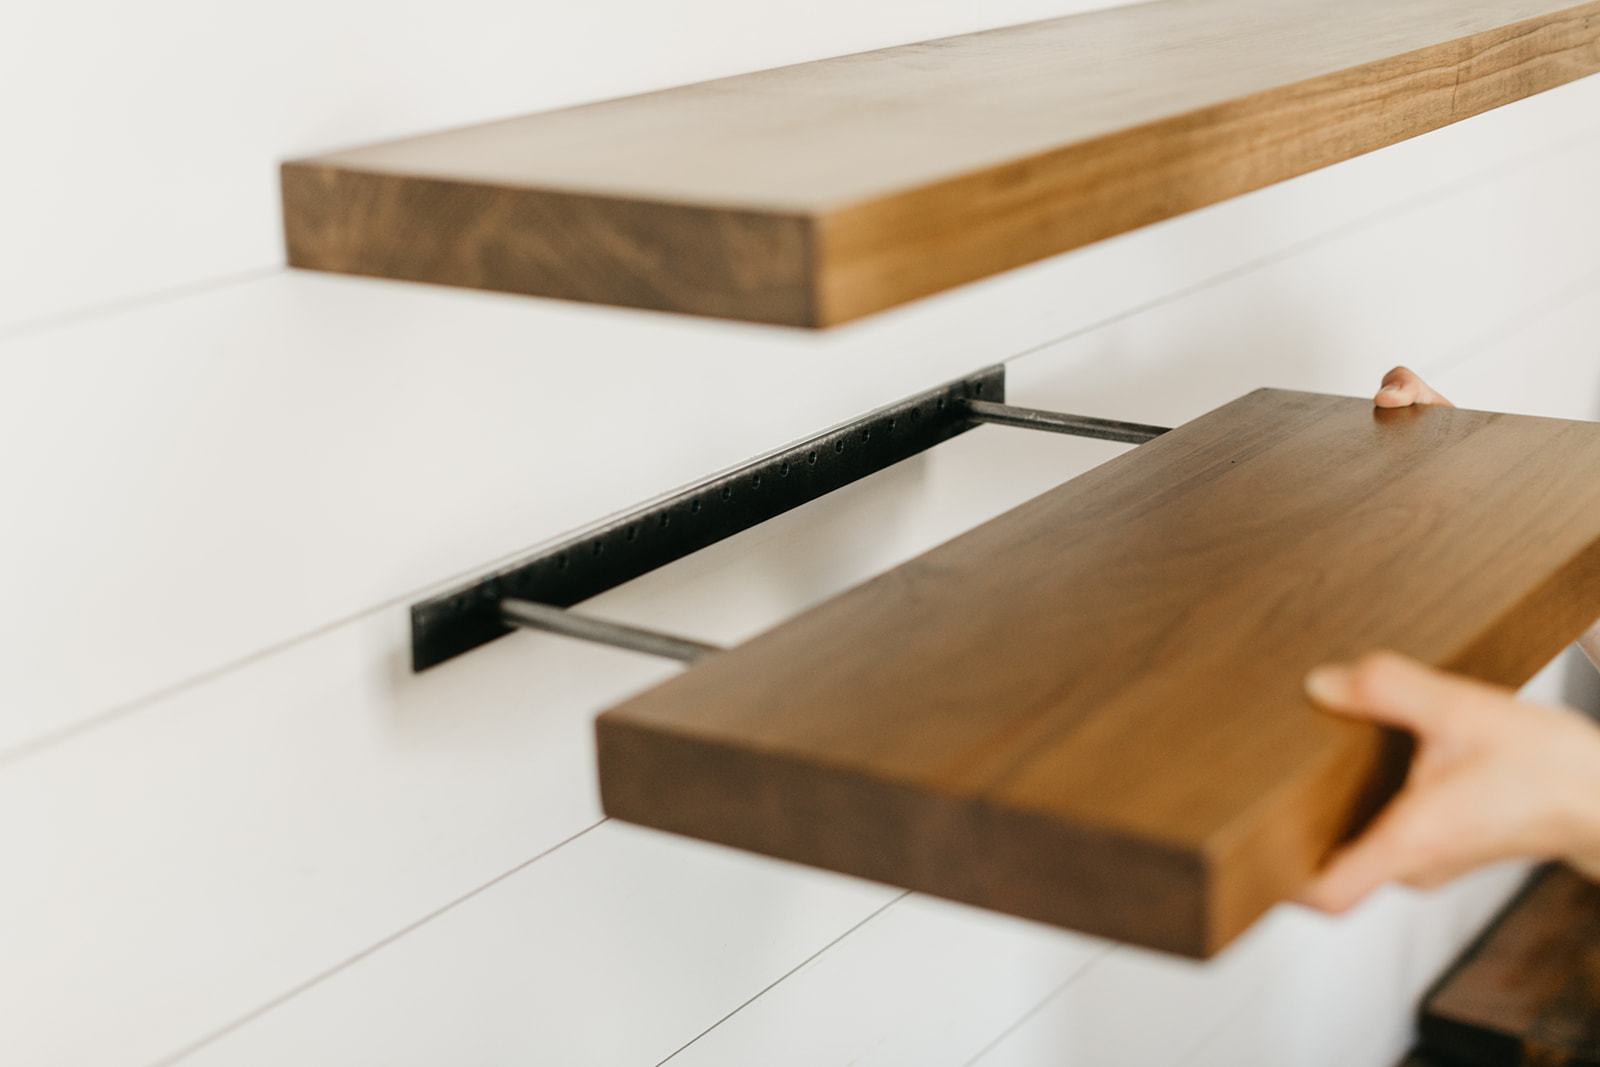
Using your drill, secure the floating shelf brackets to the wall, making sure they're anchored into the studs for maximum stability.
Once the brackets are in place, slide your wooden shelves onto the brackets.
Before placing anything on the shelves, double-check the stability by lightly pressing down on the shelves and making sure they are secure.
Understanding weight capacity is crucial for safe and effective shelf installation:
For more challenging installations, consider these methods:
Use toggle bolts or heavy-duty drywall anchors for added support.
Employ masonry drill bits and specialized anchors designed for these materials.
Construct a frame within the wall cavity for a seamless, custom look.
Enhance the appearance of your shelves with these finishing options:
Think beyond basic storage with these innovative ideas:
Address these frequent problems to maintain your floating shelves:
Keep your floating shelves looking great with these tips:
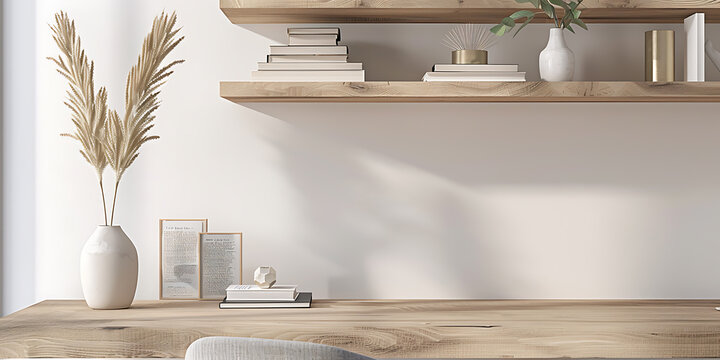
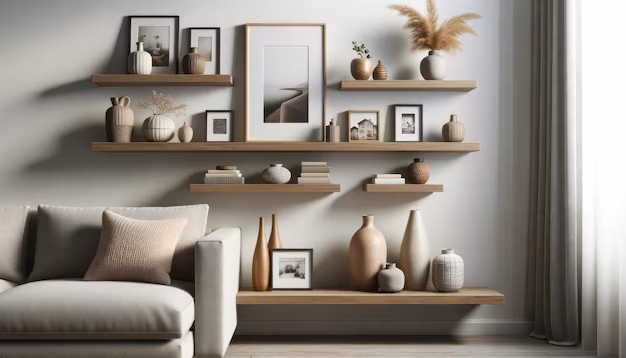
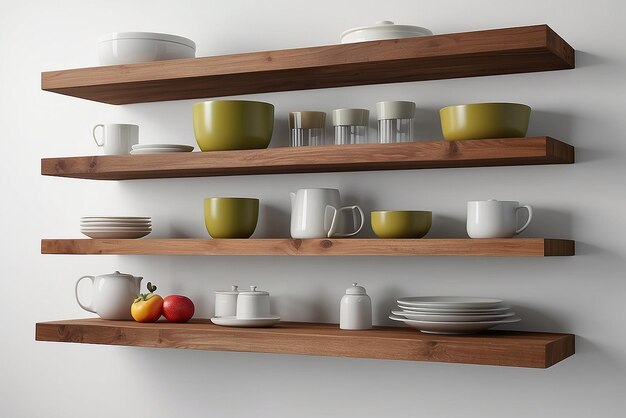
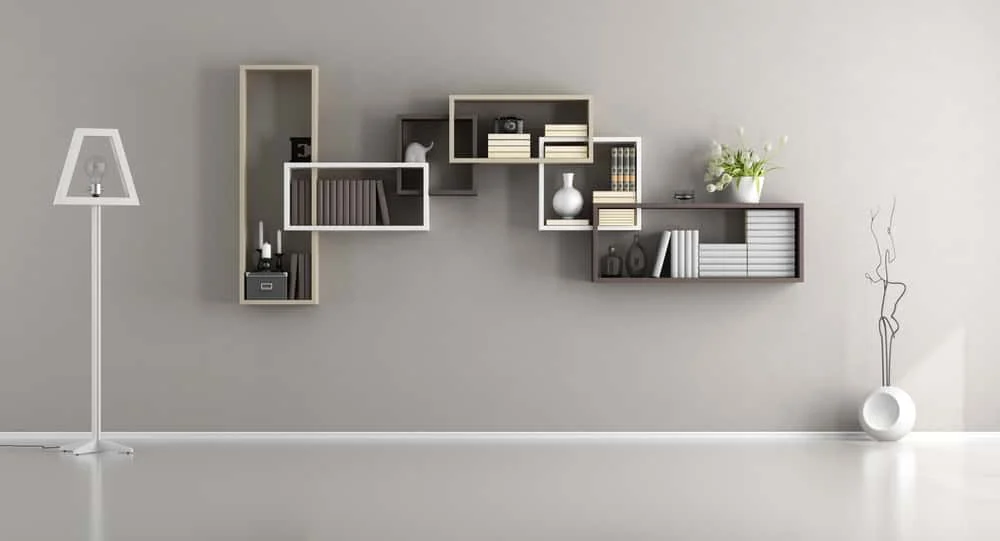
Once installed, you can style your floating shelves by mixing books and décor, using them for kitchen storage, creating bathroom solutions, or displaying collectibles.
Compare the costs of DIY vs. store-bought options:
Floating shelves are an easy DIY project that adds both style and function to your space. With simple tools and materials, you can transform any wall into a focal point with a modern, minimalist vibe.
A: The weight capacity depends on the shelf size, materials, and installation method. Small shelves (up to 24 inches) typically hold 15-30 pounds, while larger shelves can support 50-100 pounds with proper support.
A: Yes, you can install floating shelves on drywall. For best results, anchor them into wall studs. If studs aren't available, use heavy-duty drywall anchors or toggle bolts for added support.
A: Essential tools include a drill, level, stud finder, measuring tape, screwdriver, and appropriate screws or anchors. Depending on your shelf type, you might also need a saw and sandpaper.
A: Use a spirit level when marking your drill holes and again after installation. Many floating shelf brackets have built-in levels to assist with proper alignment.